In this post, I will be showing you how to use docker with Django. If you are new to Docker, I will introduce docker to you to a reasonable extent here, and point you to other resources to expand your knowledge of it or for more information.
What is Docker?
Docker is an open-source tool created for develops to build and ship applications independently of the infrastructure. Docker also allows you to take advantage of community built images that helps you build and package your applications in containers. An example is the nginx image which is a web server that helps serve applications. This can be used out of the box to package your application in container. This container is then able to replicate the environment its been built with on any other Operating System.
What is this container concept?
Think of actual cargo container, this exactly represents what is being talked about. Let's assume in this container, you have all the spare-parts that you can easily assemble to make a complete brand new car. So, you are sure you have a brand new working car in thing container. In the same vein, A containerized application helps you pack your application with its dependencies and all necessary environment variables to make your application run smoothly no matter the hardware and OS on which it runs.
The benefit of Using Docker:
It allows for fast and efficient delivery of your applications It helps to move applications around different infrastructure and retain behavior across board. Provides cost-effective alternative to high workloads. It is a good replacement for Virtual Machines and Hypervisors, Docker is more lightweight than all of these. You can do more with less infrastructure.
Read more about Docker : docs.docker.com/get-started/overview
Docker and Django
Get docker docs.docker.com/get-docker
Setting Up Django Project
You need to ensure that you have python installed on your machine, this also makes the python package manager pip available on your system. You can then use this to install packages your applications might depend on.
Install python on your machine and make sure you follow instructions for your OS realpython.com/installing-python
Create a virtual environment to run your Django application:
python -m venv env
The above would create a folder named env
Then, you can go ahead to activate the environment with the following command:
Linux and Mac:
source env/bin/activate
Windows:
env\Scripts\activate
Now you can install Django by running:
python -m pip install Django
Once django is installed with your virtual environment, you can start your project:
Pull up your terminal and cd into the folder where you have you env folder then run:
django-admin startproject tutorial
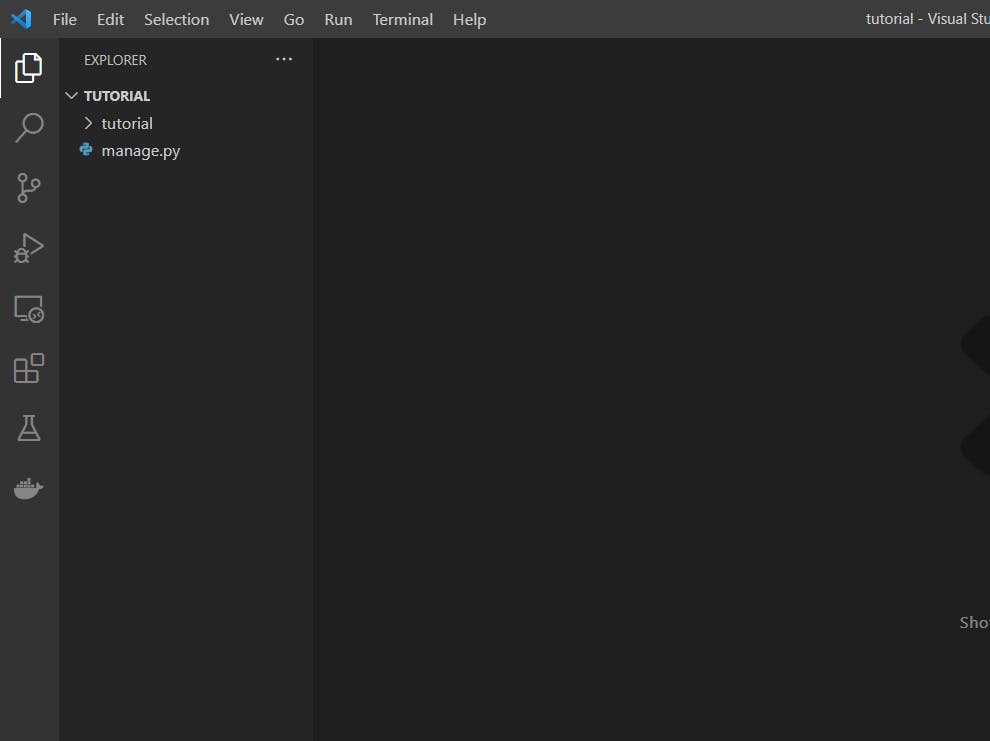
You will see a tutorial folder created for you. and the content of the folder looks like the picture blow. You can also open the folder with VS code as seen in the image below:
Create a file named Dockerfile in your project root folder.
Add the following content to Dockerfile:
# syntax=docker/dockerfile:1
FROM python:3
ENV PYTHONDONTWRITEBYTECODE=1
ENV PYTHONUNBUFFERED=1
WORKDIR /code
COPY requirements.txt /code/
RUN pip install -r requirements.txt
COPY . /code/
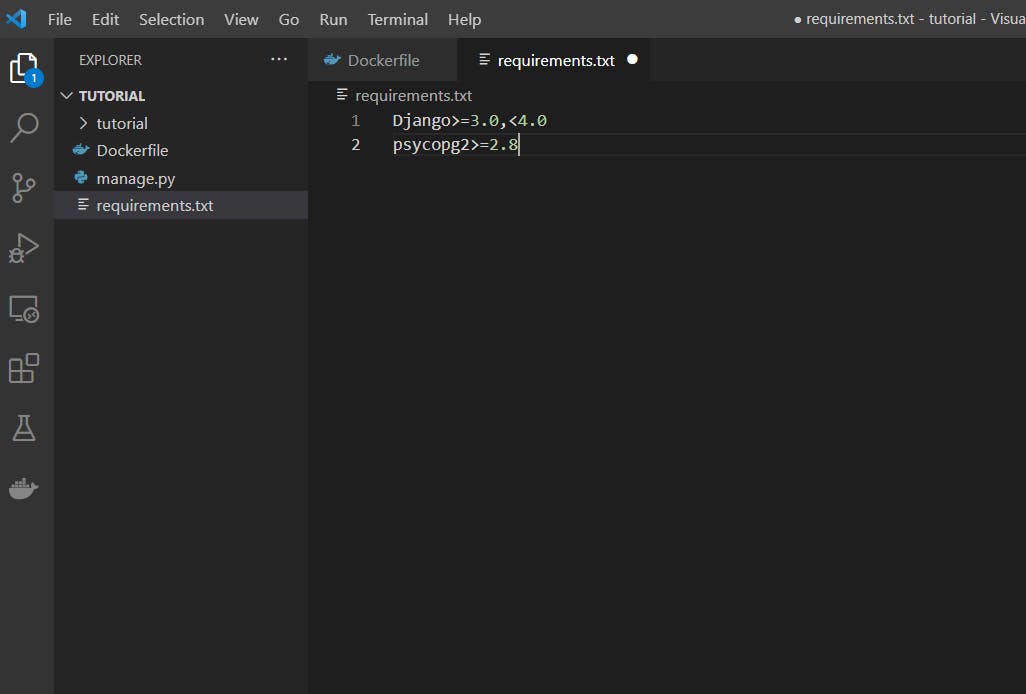
Create a requirements.txt file in the project directory and add the following content to it.
Django>=3.0,<4.0
psycopg2>=2.8
So you have the following:
Now build the container image using the docker build command.
docker build -t myimage .
The -t flag gives the image we are building from the blueprint Dockerfile a tag which we can call the name of the image built. The . specifies this path the Dockerfile is located in. In this case it is in the current directory you are in and that the reason for the .
Now that we have an image. The image informs how the application will run in its container. To run the container, we run the following command:
docker run -dp 8000:8000 myimage
where the -d flag tells the container to run in a detached mode i.e. in the background while -p does a port mapping between the host's port 8000 and the container's port 8000.
This is the docker desktop view which was downloaded earlier. The container in red is the one that was created from the command above and now we start it
Awesome!
We just run our django application with docker as a container application. In the next post:
In the next post, we will examine how to run multiple services of our application with docker-compose and also sharing to docker-hub


